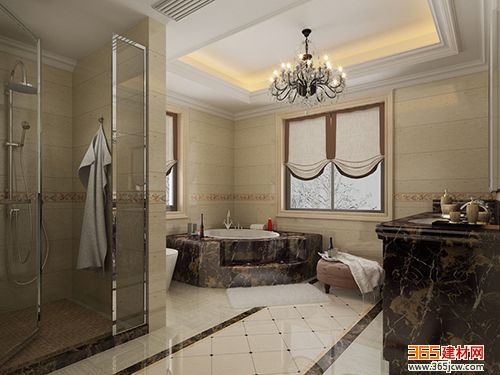
After investigation, during the renovation process, everyone will pay attention to various decoration strategies for the living room, bedroom, and kitchen. However, they often overlook the toilets that are frequently used in daily use, leading to various problems such as leaking and seepage in the bathroom. Want to come back, but it takes time and money!
In fact, the waterproof project must start from the details, follow the precautions disclosed by the master teacher, and ensure your family's bathroom worry-free life without leaking!
Waterproof floorIn fact, the open-air traders had already done waterproofing on the floor before handing in the bathroom, but in order to live without any worries, they still had to do waterproofing on the floor.
The waterproof base of the bathroom should be leveled with a cement mortar and brushed 2-3 times successively after cleaning.
Special reminder: waterproof process (this is the focus!)
1, brush the first time waterproof coating: construction site to ensure clean, dry, waterproof coating to be full, no omissions, and grass-roots combination of solid, no cracks, no bubbles, no shedding phenomenon. The brushing height is the same and the thickness must meet the product requirements.
2, brush the second time waterproof coating: Note that the first, second pass between the waterproof coating needs a certain time interval, until the first pass of the paint can be dry after the second pass, the specific time depending on the paint may be. The interval is too short and the effect of waterproofing will be greatly reduced.
In the outlets, yin and yang, etc., where leakage may occur, special waterproofing is required.
3, shop protection layer. In order to prevent the subsequent construction from damaging the waterproof layer, a protective layer should be applied on the surface of the waterproof coating. The protective layer must completely cover the waterproof layer without any omission. It has a firm bond with the grass roots, no cracks, no bubbles and no shedding.
4, after the completion of the use of a 24-hour "storage test" acceptance of ground waterproof, do a good job in sealing the toilet floor full of water to a certain height, and make a mark, if there is no significant decline in the liquid level within 24 hours, the ground water is reached Claim.
2. Wall waterproofThe waterproof treatment of the bathroom wall should generally be 30cm high. The non-load-bearing light body wall should be at least 60cm high. The shower wall should be the best for waterproofing.
Pay special attention to the corners of the wall and the floor, waterproof material must be applied in place.
3. Waterproof roof (This is a lot of people will ignore! Focus ~)When the bath is filled with water vapor, the ceiling is easy to get wet, so be sure to brush a waterproof coating on the ceiling. Using pvc buckles is also a good choice.

After doing a good job of waterproofing the ground and walls of the basement, the tiles to be laid should have low water absorption and waterproof effect. When laying floor tiles, pay attention to the same thickness of the joints and align them with the joints of the wall tiles. The floor tiles must have a certain slope of discharge.
5. Socket waterproofFor example, a socket reserved for convenient use of a hair dryer beside a wash basin is used. For safety reasons, it is preferable that the bathroom use a waterproof socket with a cover.
The above 5 points are the waterproof precautions revealed by the master teacher. Have you learned it? Follow the decoration master to do a good job of waterproofing the bathroom. If you live for 70 years, the bathroom will not leak out!